No holiday celebration is complete without a pumpkin pie. Traditional pumpkin pies may be loaded with sugar and other not so healthy ingredients. But this pumpkin pie is gluten free, refined sugar free and blood sugar friendly, but no one will know!
My son, Nolan loves pumpkin pie and this is his favorite recipe. I have been working on this new crust recipe for several weeks now and this final version is tender and buttery. The pumpkin pie filling is spicy and the perfect custard texture. I hope you enjoy this one as much as Nolan does!
If you are looking for more Thanksgiving suggestions check out this post for more options.
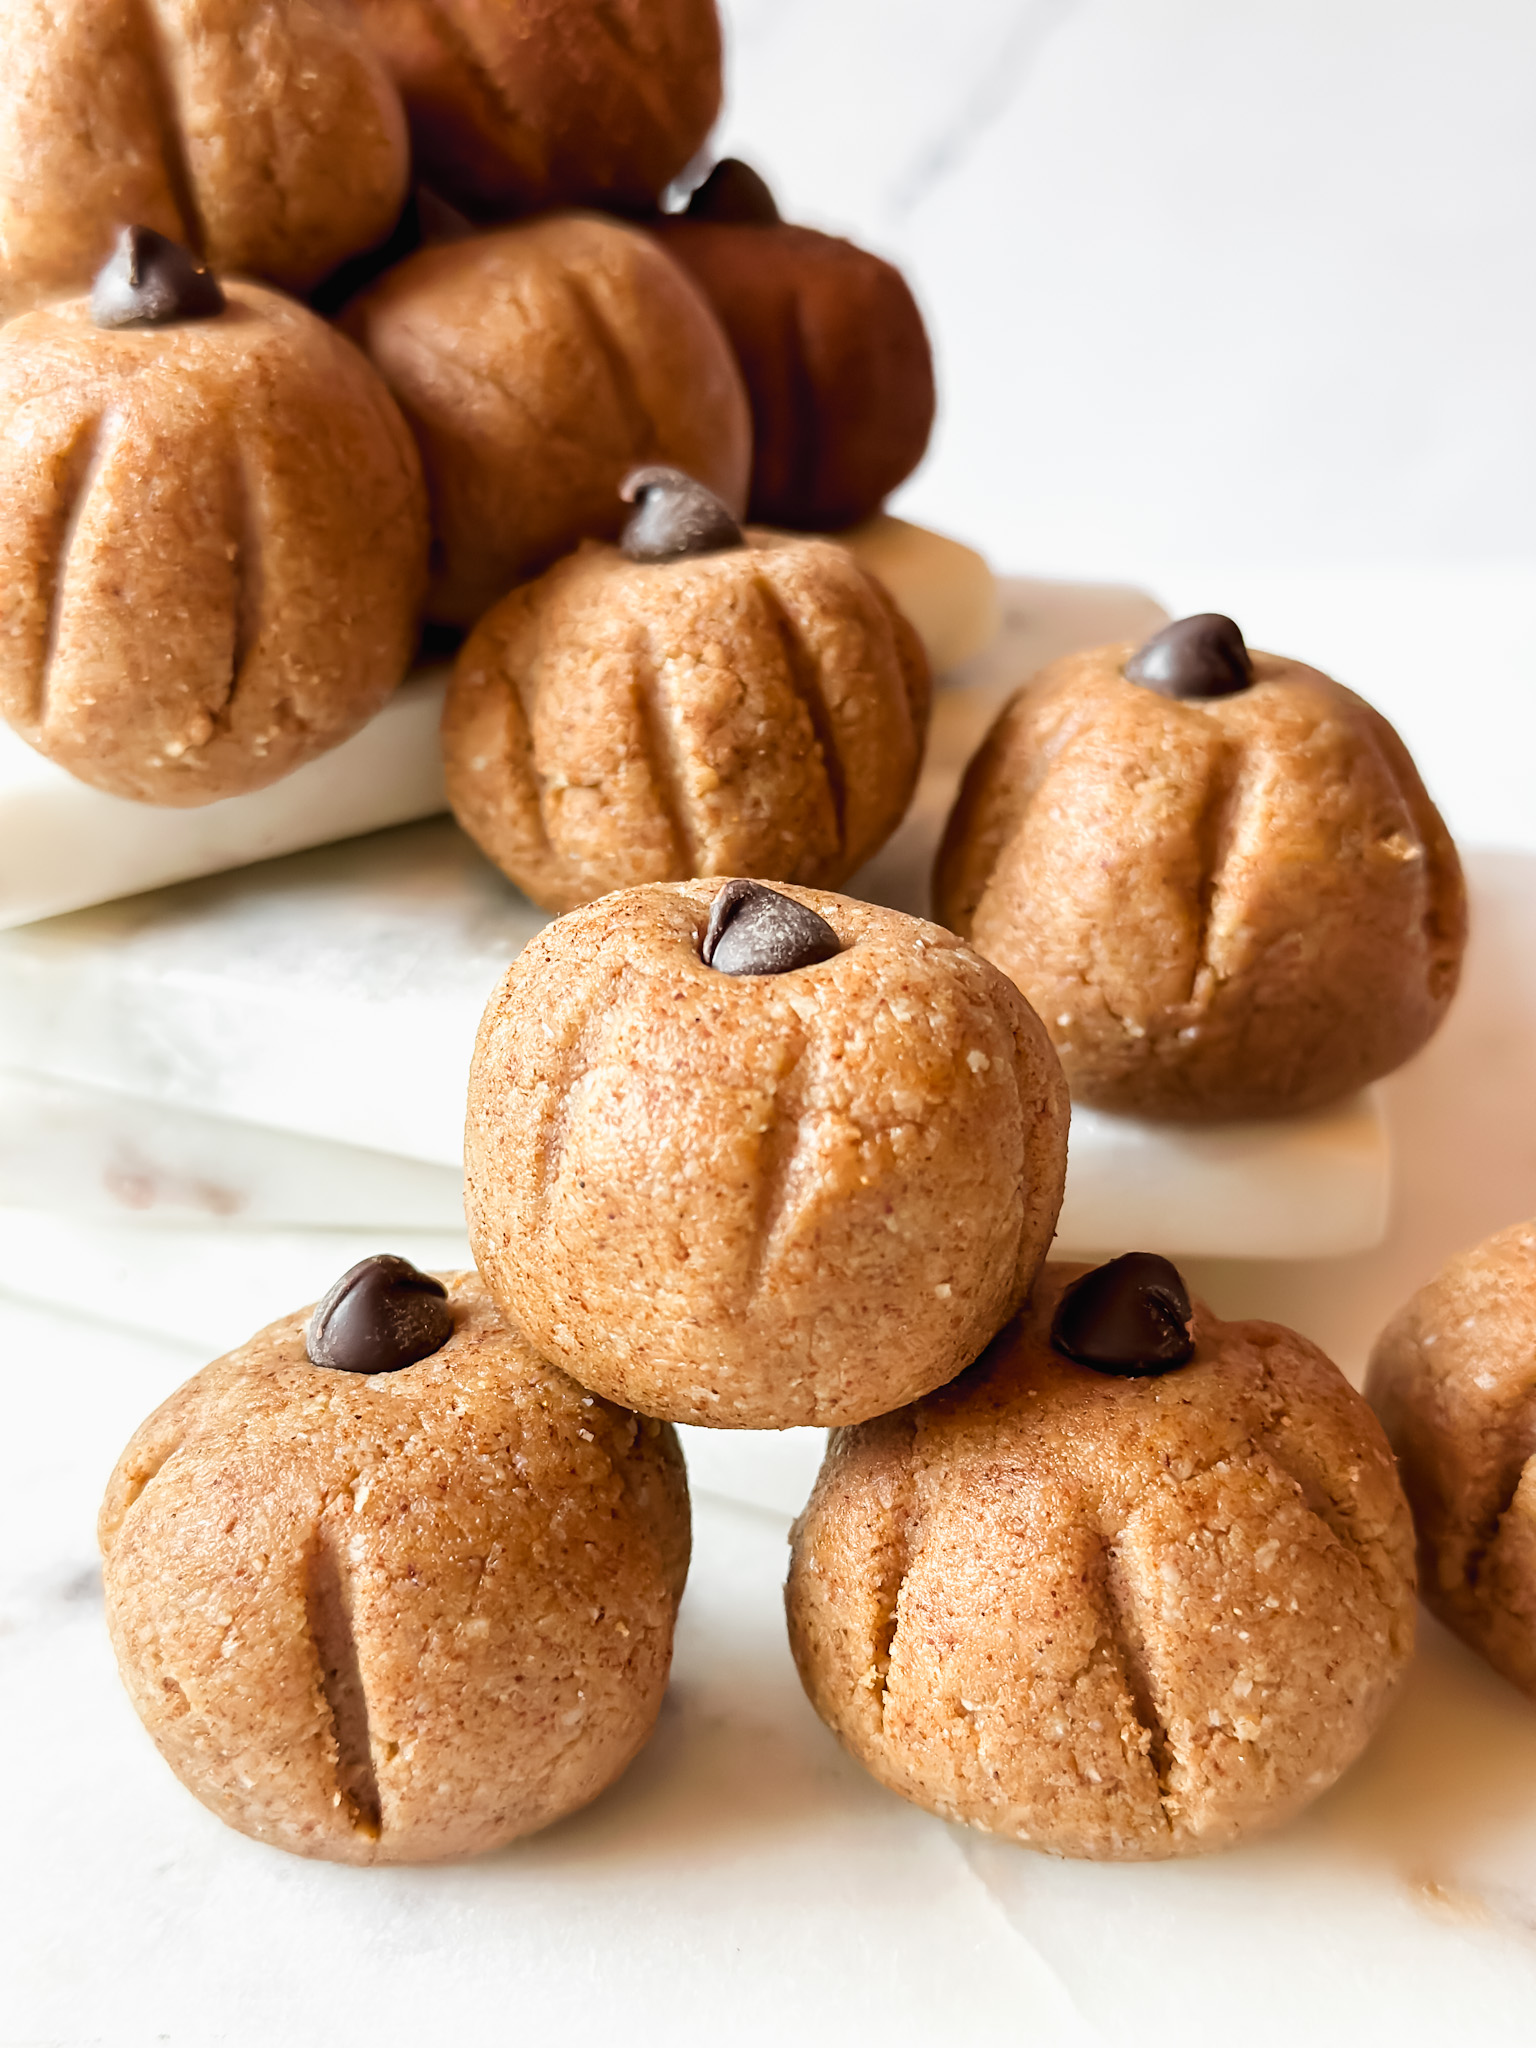
If you like this Pumpkin Pie recipe you may like these other blood sugar friendly desserts; Pear Galette, Caramel Candies or this recipe for Snickerdoodle Protein Balls.
Why You’ll Love This Recipe For Pumpkin Pie
There’s nothing quite like pumpkin pie over the holidays and this pumpkin pie not only tastes great but won’t impact your blood sugar. There’s no compromising on taste and texture either.
Ingredients To Make Pumpkin Pie
Crust Recipe
- Almond flour – I used almond flour though cashew flour would also work!
- Lupin flour – Lupin flour made from lupini beans is a great low carb flour I use in a lot of dishes.
- Arrowroot powder -Arrowroot powder helps thicken up the crust dough.
- Cinnamon – A touch of cinnamon helps adds some sweetness to the crust.
- Grass fed butter – Make sure the butter is very cold and diced.
- Ice water – Place the water in the fridge or freezer as soon as you begin to prepare the pie so it has time to cool down.
Pumpkin Pie Filling Recipe
- Unsweetened pumpkin puree – Be sure to use pumpkin puree, not pumpkin pie filling (which is loaded with sugar).
- Full fat coconut milk – I like Native Forest brand for this pie, don’t substitute with low fat you won’t get the same taste or texture.
- Maple syrup I get a level glucose response using maple syrup in this recipe but you could use keto syrup.
- Spices – Ground cinnamon, ground ginger, ground nutmeg, ground cloves, ground cardamom, and a touch of sea salt.
- Vanilla extract – Use real vanilla extract for the best flavor
- Eggs – Any type of large eggs will work to make the filling.
Equipment
How To Make
Make the Crust
- In the bowl of a food processor, add almond flour, lupin flour, arrowroot and cinnamon. Pulse to mix very well.
- Add very cold diced butter to the flour mixture. Pulse to incorporate. Stop pulsing when you still see chunks of butter but they are just smaller.
- Dribble 6 tbsp of ice cold water into the food processor as you pulse. If your food processor has a hole in the stopper, you can pour the water in there. The idea is that you still have pieces of butter remaining that will create a tender crust when baked. At this point, the crust should be slightly tacky and mostly held together. If yours is still dry, you may need to add a couple more tablespoons of water. The crust should not be wet, though so only use more water if absolutely necessary.
- Gather the dough into a circle and wrap tightly in plastic wrap or a beeswax wrap.
- Refrigerate at least 30 minutes or until you are ready to assemble your pie. I make several crusts at a time and store them wrapped so they are ready for easy pies and galettes!
Make the Pumpkin Pie Filling
- Whisk together pumpkin puree, coconut milk, maple syrup, vanilla, spices, eggs, until fully combined.
Assemble your Pie
- Preheat oven to 350 Fahrenheit.
- Roll your chilled pie crust between two sheets of parchment paper until it is about 1/4″ thick. Drape the crust into your pie pan and crimp the edges using your fingers or a fork.
- Pour the filling into the prepared pie pan.
- Bake for 45-55 minutes or until filling is just set. Turn off the oven, open the door slightly and allow the pie to cool in the oven.
- When the pie is cool enough to handle, cool completely in the refrigerator.
- When you are ready to serve, remove the pie from the refrigerator and serve with coconut whipped cream. Enjoy!
Storage
Leftover pumpkin pie will keep in the fridge for 3-4 days in an airtight container. You can also freeze leftovers for up to 3 months. Defrost in the fridge overnight and then serve.
Pro Tips
Here are a few things you can do to make sure your pie turns out every time.
- Make sure the water to make the pie crust is very cold. Place it in the fridge or the freezer before you begin to prepare the pie.
- Place the can of coconut milk in a bowl of warm water so the thick coconut cream part melts and you have a cohesive liquid to add to the filling.
- Check your spices for freshness, though they do last quite a while their flavor will wane over time.
- Brush your pie plate with butter, coconut oil or even olive oil so the crust doesn’t stick.
FAQs
Is pumpkin pie anti inflammatory?
Like other orange foods, pumpkin contains carotenoids which may be able to tackle free radicals and decrease inflammation.
Why not use pumpkin pie filling?
Pumpkin pie filling contains sugar, spices and other ingredients so it’s best to use pure pumpkin puree and add the spices yourself.
Can I make this pumpkin pie ahead of time?
Yes, absolutely. It is probably a good idea to make it ahead of time so it can set properly.
Did you make this recipe? If you did, please tag me and share on Instagram!
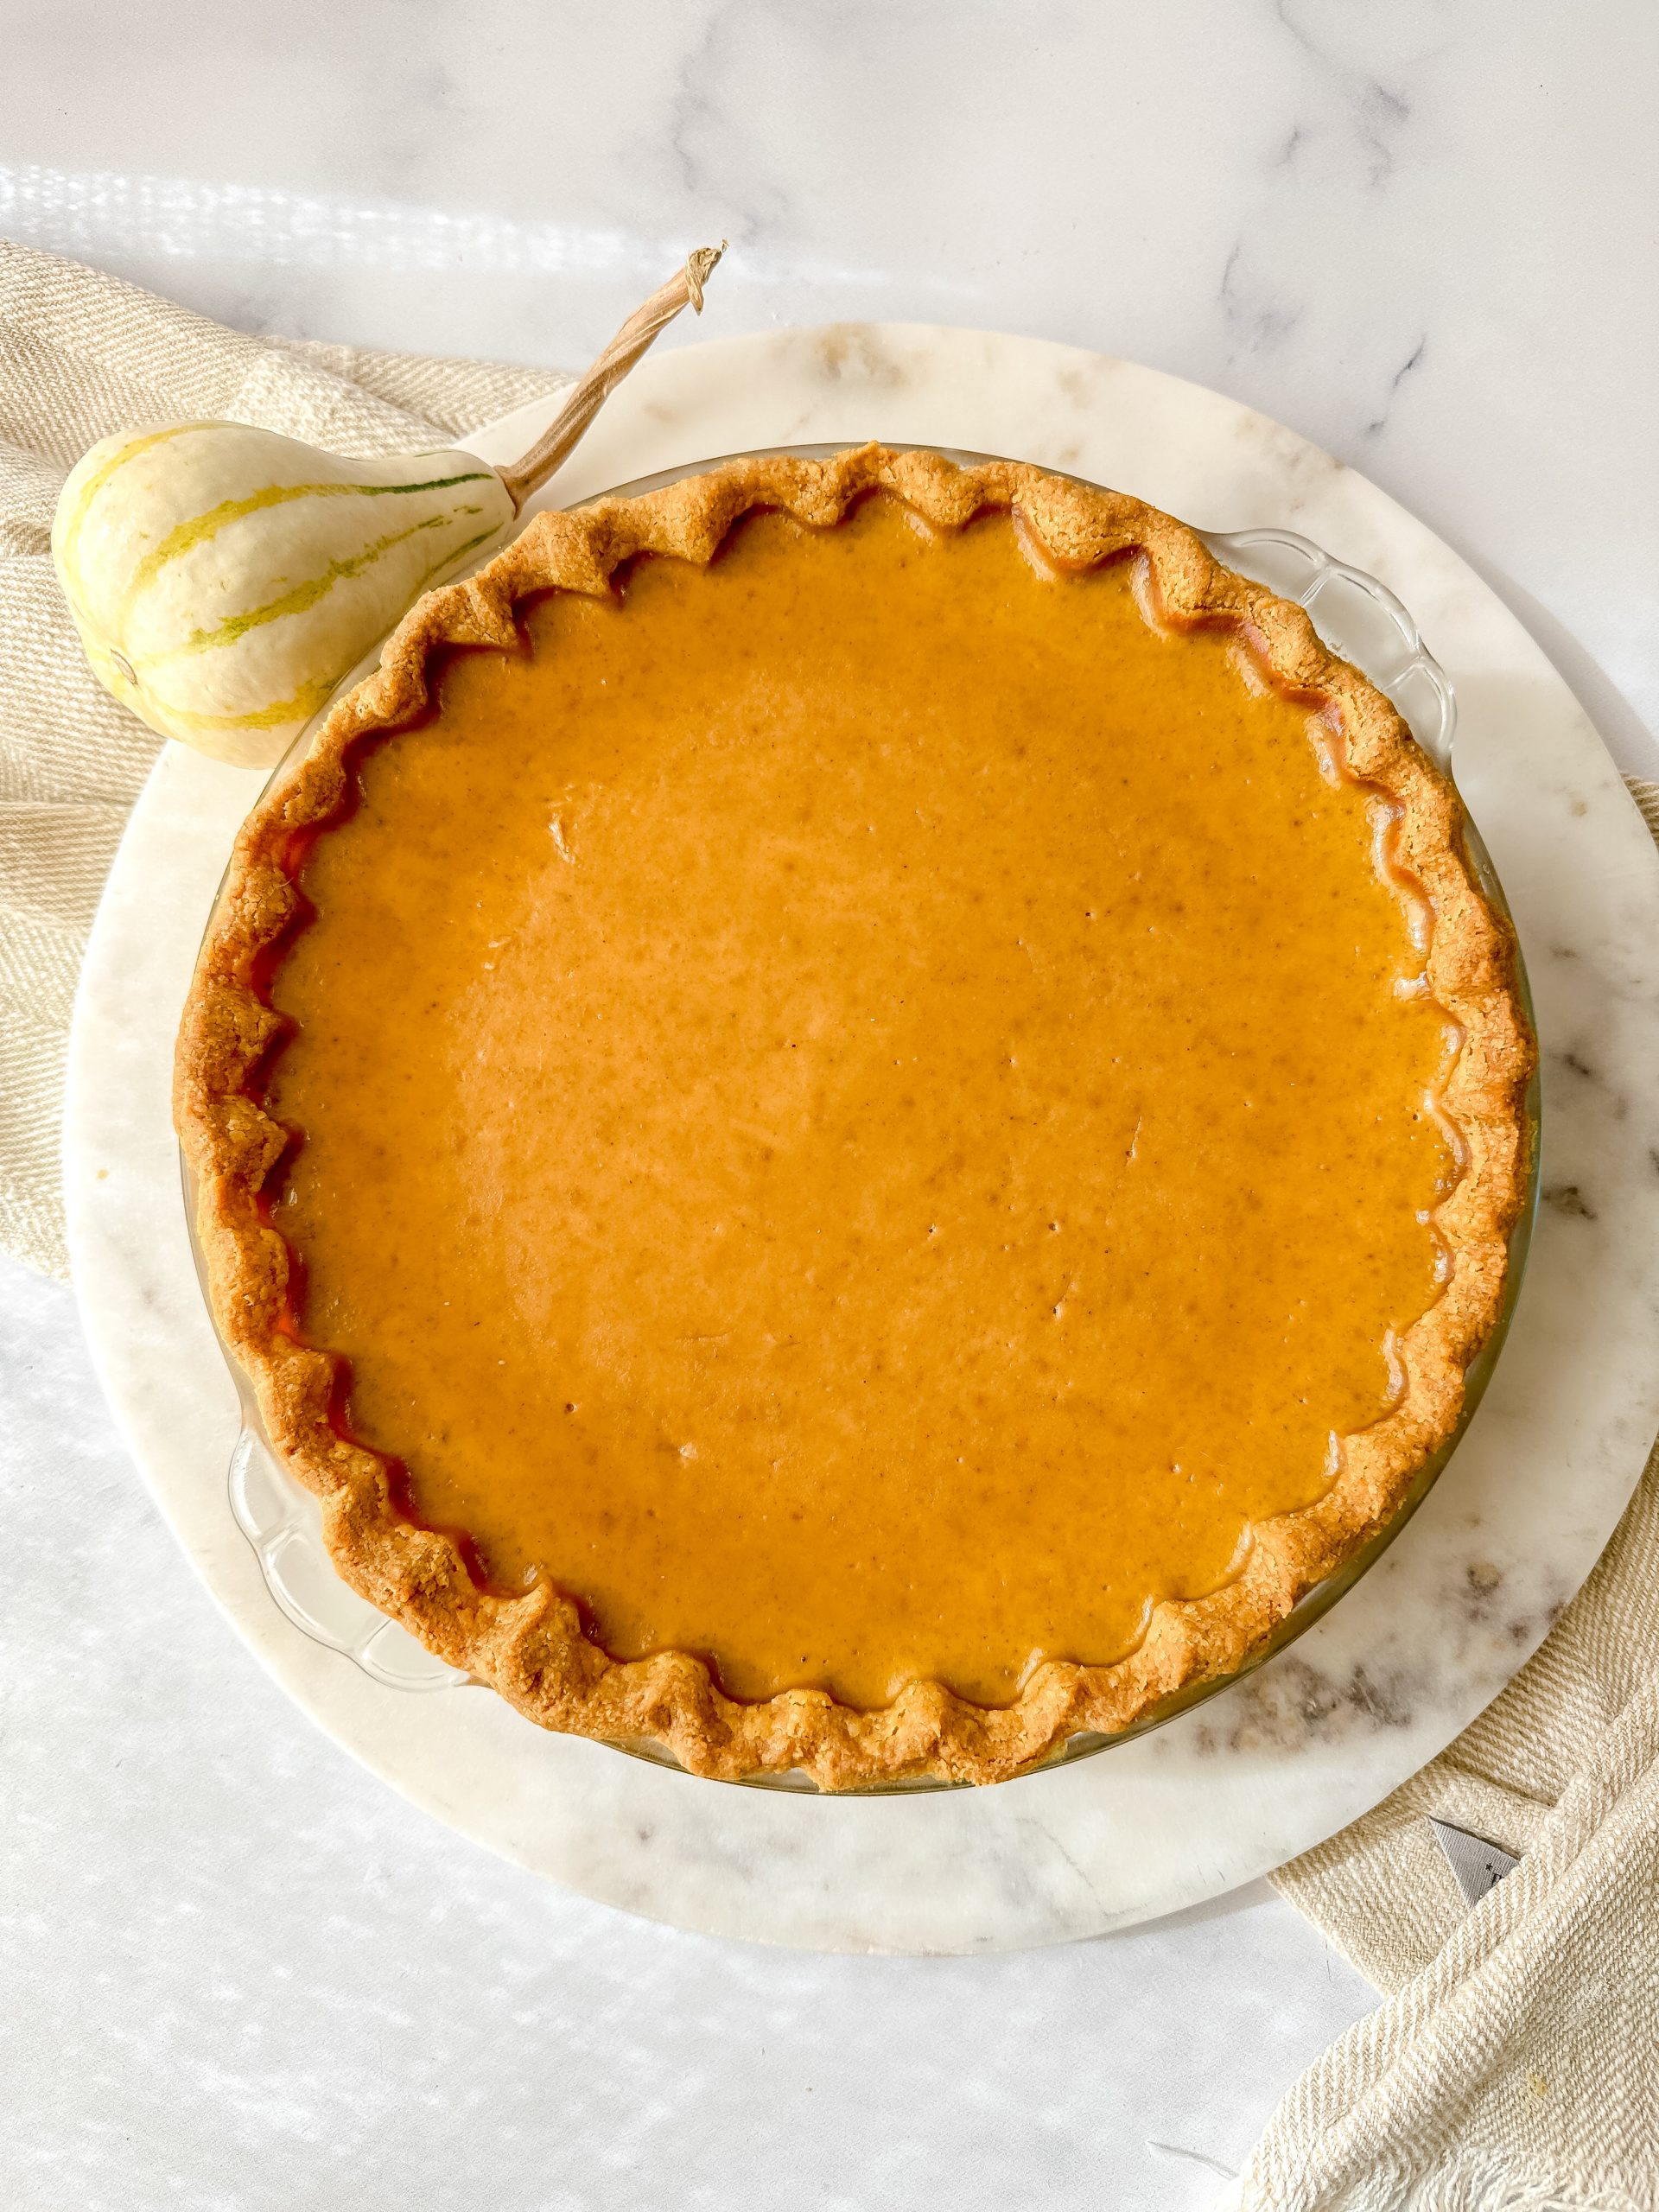
Pumpkin Pie – refined sugar free, paleo, gluten free and blood sugar friendly!
Ingredients
Crust Recipe
- 1 cup almond flour cashew flour would also work!
- 3/4 cup lupin flour
- 1 tbsp arrowroot powder
- 2 tsp cinnamon
- 6 tbsp grass fed butter very cold and diced
- 6-8 tbsp ice water
Pumpkin Pie Filling Recipe
- 1 15 ounce can unsweetened pumpkin puree be sure to use pumpkin puree, not pumpkin pie filling (which is loaded with sugar)
- 1 cup full fat coconut milk I like Native Forest brand for this pie
- 1/2 cup maple syrup I get a level glucose response using maple syrup in this recipe but you could use keto syrup too
- 1 1/2 tsp ground cinnamon
- 1 tsp vanilla extract
- 3/4 tsp ground ginger
- 3/4 tsp ground nutmeg
- 1/2 tsp ground cloves
- 1/2 tsp ground cardamom
- 1/4 tsp sea salt
- 3 large eggs
Instructions
Make the Crust
- In the bowl of a food processor, add almond flour, lupin flour, arrowroot and cinnamon. Pulse to mix very well.
- Add very cold diced butter to the flour mixture. Pulse to incorporate. Stop pulsing when you still see chunks of butter but they are just smaller.
- Dribble 6 tbsp of ice cold water into the food processor as you pulse. If your food processor has a hole in the stopper, you can pour the water in there. The idea is that you still have pieces of butter remaining that will create a tender crust when baked. At this point, the crust should be slightly tacky and mostly held together. If yours is still dry, you may need to add up to a couple more tablespoons water. The crust should not be wet, though so only use more water if absolutely necessary.
- Gather the dough into a circle and wrap tightly in plastic wrap or a beeswax wrap.
- Refrigerate at least 30 minutes or until you are ready to assemble your pie. I make several crusts at a time and store them wrapped and ready for easy pies and galettes!
Make the Pumpkin Pie Filling
- Whisk together pumpkin puree, coconut milk, maple syrup, vanilla, spices, eggs, until fully combined.
Assemble your Pie
- Preheat oven to 350F
- Roll your chilled pie crust between two sheets of parchment paper until it is about 1/4" thick. Drape the crust into your pie pan and crimp edges using your fingers or a fork.
- Pour the filling into the prepared pie pan.
- Bake for 45-55 minutes or until filling is just set. Turn off the oven, open the door slightly and allow the pie to cool in the oven.
- When the pie is cool enough, cool completely in the refrigerator.
- When you are ready to serve, remove the pie from the refrigerator and serve with coconut whipped cream. Enjoy!
Notes